My not terribly welcoming entrance (to the second floor).
After closing last Friday (a minor miracle given a lot of last-minute appraisal stuff), I’ve begun moving stuff into my new home, and thinking about the future. The future is going to be very expensive.
A new furnace is at the tippy top of the list. Central air conditioning, though, will simply have to wait – it’s simply too dear. Until next summer at least, it’s ugly window units for me (installed in windows that need replacing…all 22 of them. Ouch).
Instead, I’ll have to work on things I can do myself (things that don’t cost much…or at least not much in one fell swoop). That means knocking out some walls – first and foremost the one in the entrance hall that divides the place into two apartments. I’m already getting tired of running in and out two sets of doors and up and down front and back stairs to get from one unit to the other.
So that means putting the staircase back to rights. Because right now, it is…well…cramped, dreary, narrow and ugly (see the opening photo).
Once you get to the landing, though, it opens up, and there’s a lovely stained glass window.
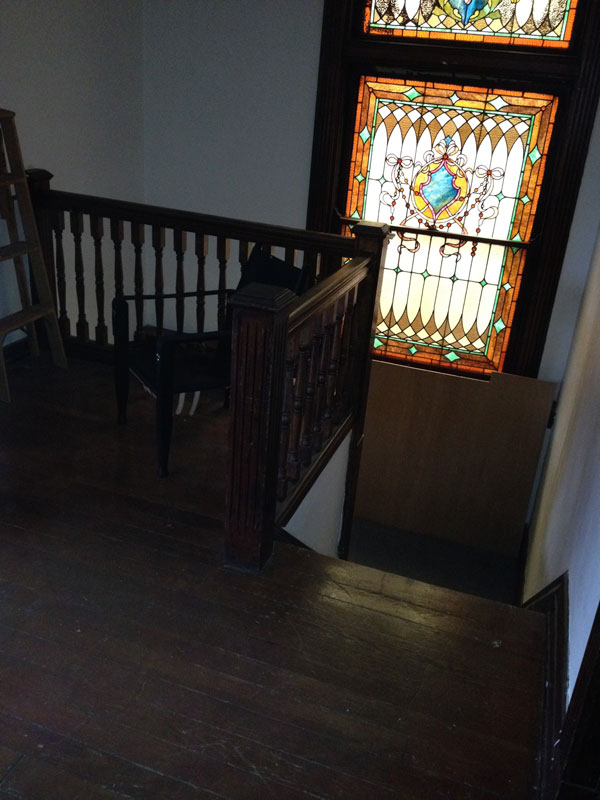
Looking down on the landing from the second-floor hall.
My very kind neighbors three doors down have almost the exact same house (though theirs has all manner of incredible snazzy but historically sympathetic updates, and two more original fireplaces than mine). And they still have the original staircase intact.
Despite my looking (and probably stinking) a fright after hours of cleaning yesterday, Jen welcomed me into their home and showed me around. Incredible. If I can make mine look half that nice, I’ll be happy.

What my staircase almost certainly looked like in 1906.
But I’m just a tiny bit confused, despite hours of puzzling things out. And I’m not sure these pictures explain it.
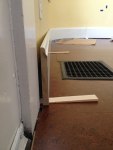
You see, under the stairs at the (very kind) neighbors, a door is tucked under the second landing – it’s probably about 5′ high. Under my stairs on the bottom floor, there’s a full-size door to a closet under the landing … but it’s pulled out about 18″ from the bottom of said landing, and there’s a partial wall alongside it. In my closet, you go in about 18″ and the recess dips down for the underside of what would have been the second (and right now the only) landing.

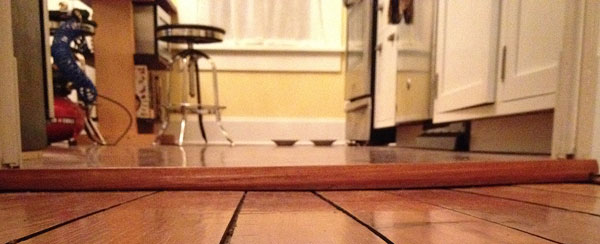
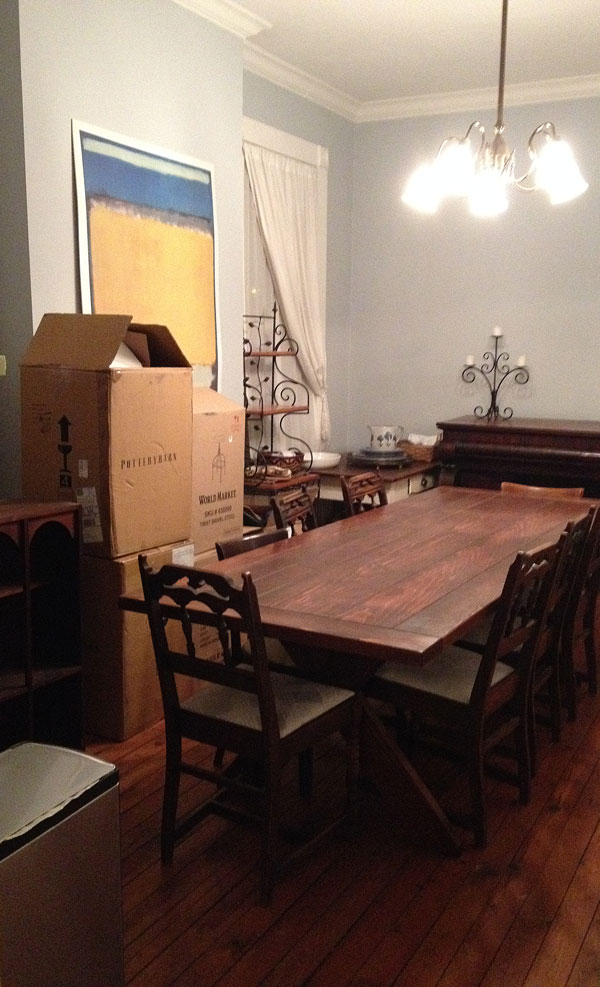
So the answer seems obvious – at some point, my front hall was reconfigured a bit to make it feel a little more like a room (no doubt a good marketing point to renters) when my house was divided into two units. But I gotta say…the door trim looks original (see above) and it doesn’t appear inside the closet that any trim used to be around the lower opening. So either a really good trim carpenter and plasterer did the reconfiguring, or mine was originally configured a little bit differently. My money is on good craftsmen – because on the first floor, you can see the corner of the landing post in the corner to the right of the mirror (see below).

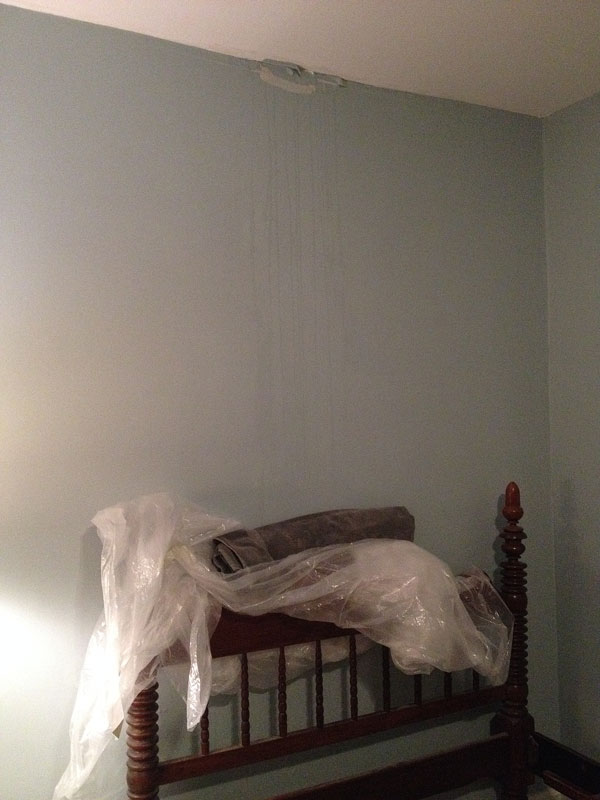
Two tiny rays of hope: (1) The second-floor staircase is crazy narrow, and (2) that little jutting-out bit of post in the corner. I’m guessing that, down to where the first landing would be, the original balustrade and railing is sandwiched between the framing and two sides of drywall.
I’ll get back to you on that August 1: Hallway Tear-out Day. In the meantime, I gotta tear out, redesign and rebuild a bathroom. And find the money to pay for it. And then do that again.
I just hope that in the future, my work is good enough so as to be equally confusing to new owners.
* credit to Adam Maxwell for the improved headline…much better than Case of the Missing Staircase