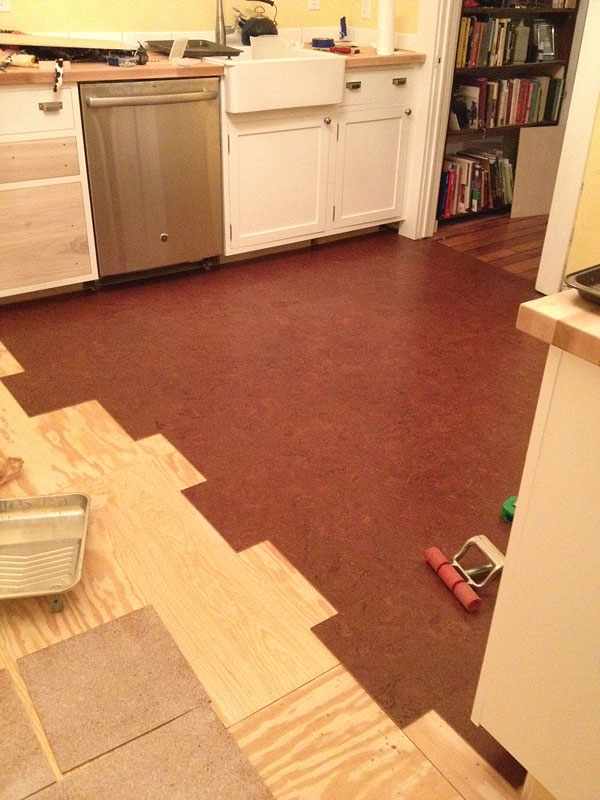
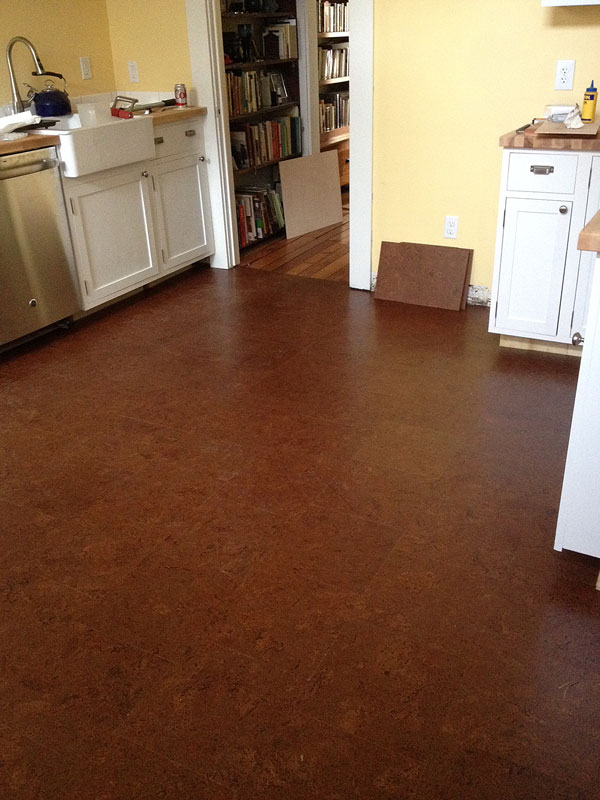
Last night, after completing various neighborhood pet-sitting duties and setting the backsplash tiles, I decided to get over my first-timer’s fear and start in on the cork tiles. That was at 10 p.m. I got as far as you see above by about 1 a.m., and called it a night.
I was cutting it close on my tile supply from the get-go, because I didn’t want to pay for another entire box. But by my triple-checked calculations, as long as I made no more than a couple mistakes, I’d still have 15 or so 12 x 12 tiles left over. I did not, however, remember my daring tile order when I decided against a cabinet to the left of the stove.

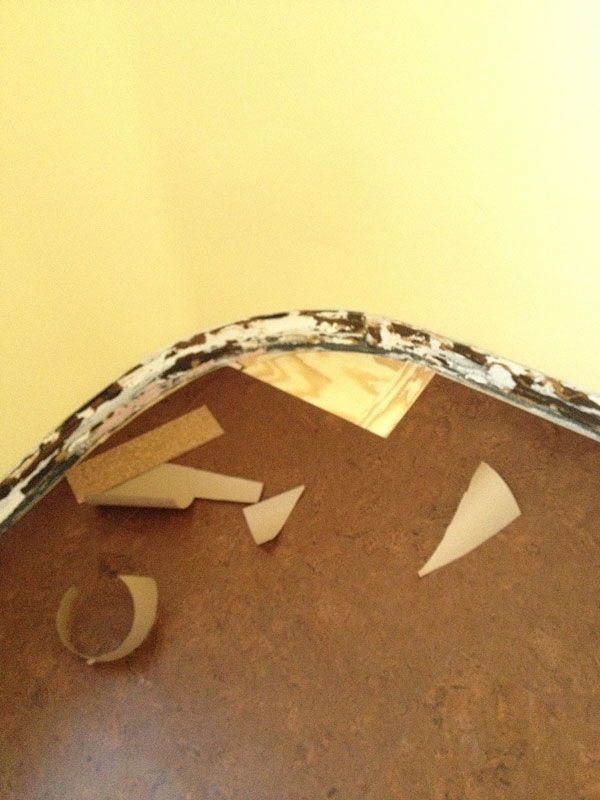
This curved corner was fun. I cut paper templates, then traced around them onto the cork with a sharp utility knife.
At 1 a.m. Saturday morning, I wasn’t sure I’d have enough. And the store where I got my supplies is open on Saturdays from 10 a.m.-1 p.m…plus the tiles would have to be ordered, and it’s a holiday weekend. So at 6 a.m., I was back at it; I wanted to know quickly how pissed off I was going to be at myself for the next several days. (And I wanted to get my order in ASAP, if needed.)
Luckily, in large part because of the square footage not being evenly divisible 12, I had a fair number of rip cuts to make that resulted in scraps that were large enough to use against other walls/doorways/bases/etc. (Except is it really lucky to have had to fiddle so much? No. No it is not.) When all was said and done, I had four full tiles remaining – a very close call.
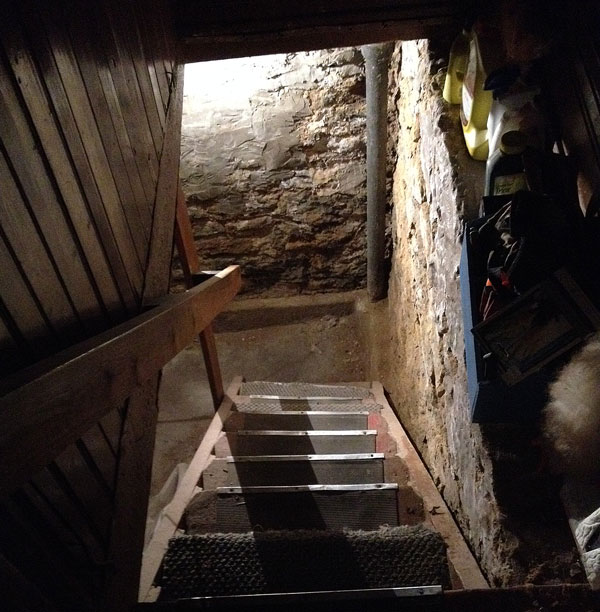
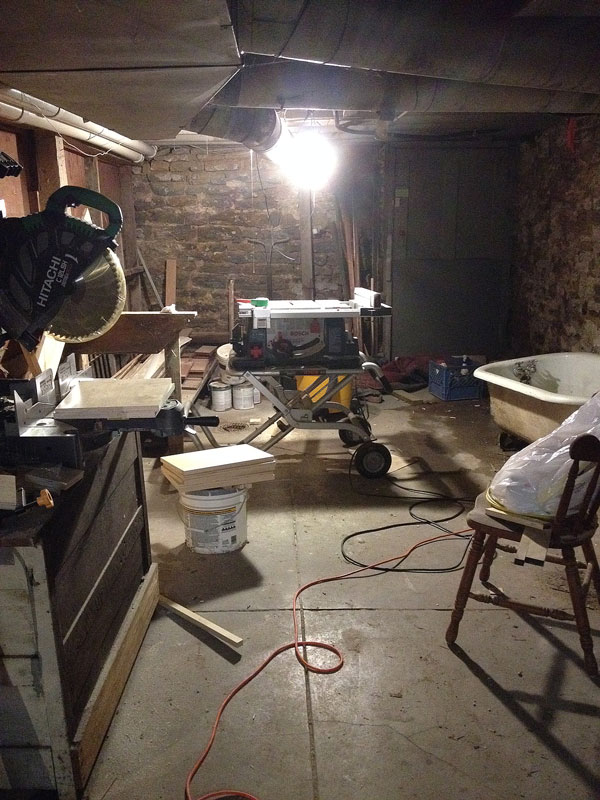
Cork is easy to cut; a sharp utility knife can make it through in three to four passes – which is good, because I’ve a pesky curved corner that no table saw could handle. For the many straight cuts, the table saw works like a charm. As much as I hate going up and down to the scary basement and as bad as the light is at my saw, that little Bosch saved me a lot of time.

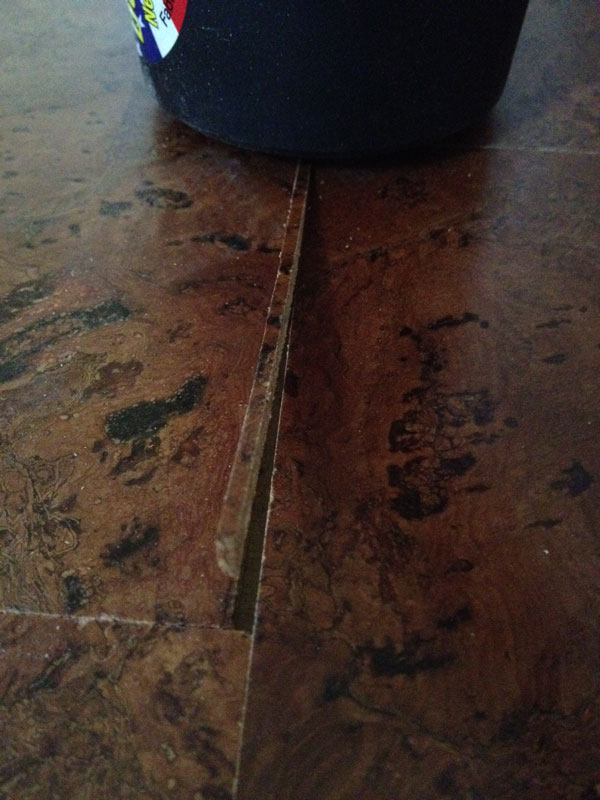
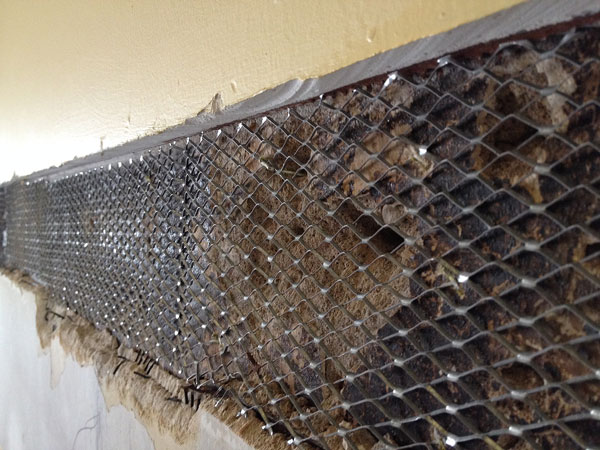
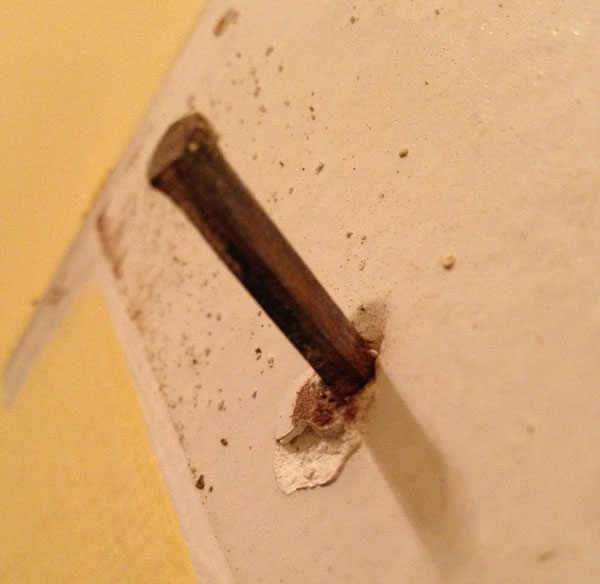
Got a small gap? Think string inlay (in the same species, color and pattern).
It also came in handy in helping me to fix a wee problem. Somehow, I got a little off on a few tiles, which resulted in having to fill narrow gaps in a few places at the staggered joints. On the table saw, I was able to rip 1/16″-wide strips off the springy cork (I backed it with 1/4″ ply so I didn’t lose the tiny offcut), and tap them down into place. It’s rather like string inlay – with the notable exception that I don’t want the strips to stand out. And they don’t. After two coats of waterborne poly (Bona “Traffic”), they’ll not show even less.
Cork is also pretty easy to install. The adhesive I used has a three-hour open time (if you coat the floor and the tiles at around the same time; if you pre-coat the tiles, the working time drops to an hour with the floor’s adhesive). I rolled the stuff on both (working with about 12-15 tiles at a time, and coating the appropriate area of underlayment), waited for it to turn clear(ish) and dry to the touch, then defended the prep against cats while the adhesive flashed. Then, it was just a matter of aligning the first one with the chalk lines I’d dropped near the sink, and working my way out, pounding each in place with a rubber mallet. Each row is staggered 3-1/2″ from the previous one. (No real reason other than it looked good to select 3-1/2″.) After every 12-square-feet or so, I used a J-roller on the joint lines.
Other than those few aforementioned gaps (an easy fix), I’m pleased with how it turned out. And delighted to not have to wait for another box of cork tiles to arrive. But I do still have to screen it and apply the two poly coats (a 2-day process).

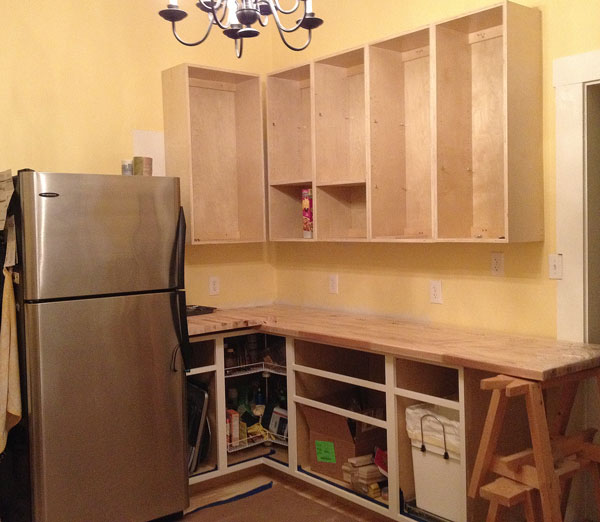
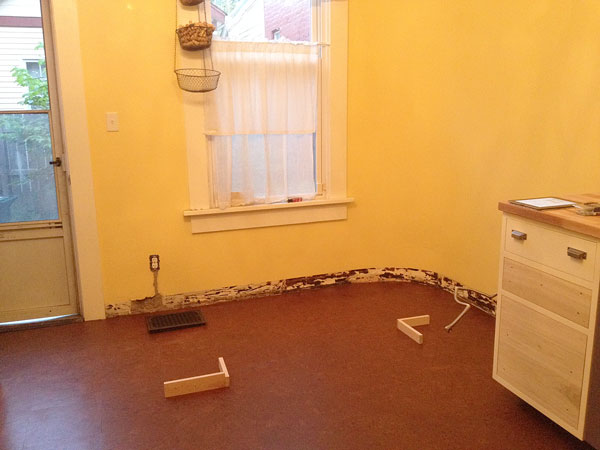
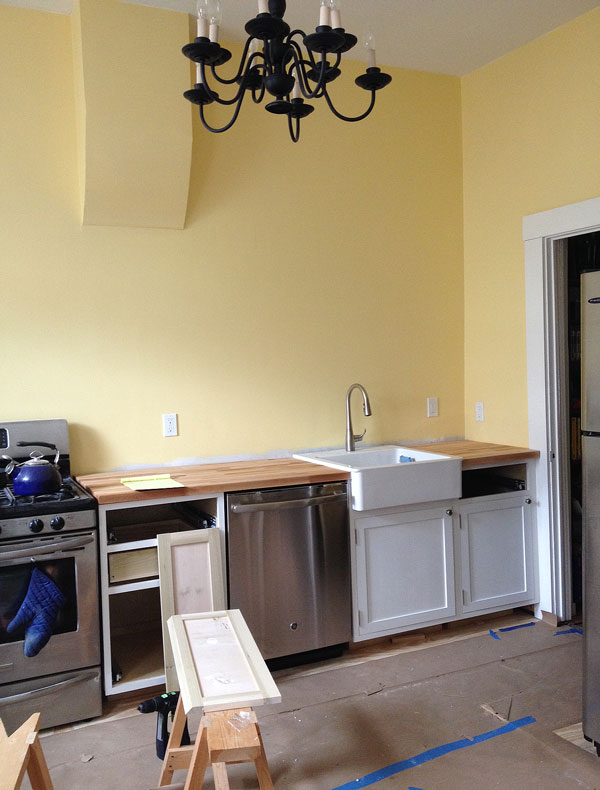
The sticks to the right of the window denote the corner of the stove; the center ones denote the proposed island location relative to the wall and stove.
And that got me thinking about everything else that’s left to do…so I had three drinks with dinner, in an effort to make myself take a break, because I’ve been working on the kitchen almost non-stop (but for work) for weeks…months. I just need a few hours of not working. (Though I’m pretty sure I could grout whilst tipsy.)
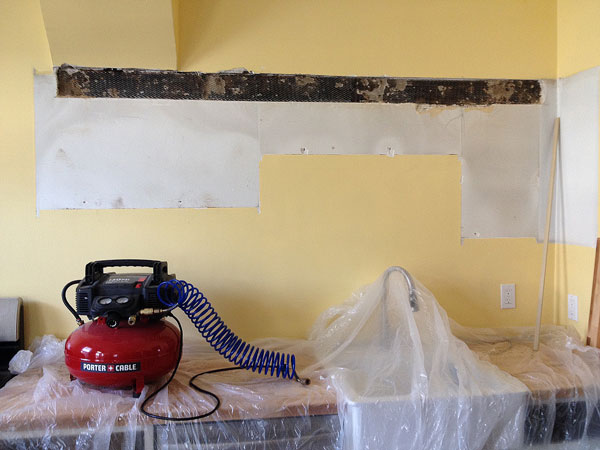
There’s still a minor wall repair to make where my neighbor moved an outlet up above the baseboard line (thank you neighbor…I just didn’t have the time), baseboards to run and install (including a kerf bend around the curve), a countertop-height table with a curved top to fit in to the left of the stove (I hate that curve), three drawers still to paint and their hardware to install, the backsplash tile to grout and a kitchen island to make. It’s that last one that has me thinking Ikea. I can only assume it’s the alcohol talking. I might just listen.


 The closest I could find was a 17″-wide drawer box (no idea what it’s from, why I have it or how long it’s been gathering dust on my third floor), so I rummaged around under my workbench and came up with some 1″-thick scrap (with poorly cut mortises in them…no idea why I kept those). Then, after a quick trip to the hardware store for 4″ screws (no that’s not overkill – 7/8″ through the cabinet support and back, then through 1″-thick plasterboard before getting to the studs), I took a few more gulps of coffee and a deep breath, checked the top and sides for level, and secured the first box in place.