Hey – It’s a Shop!

BenchChest

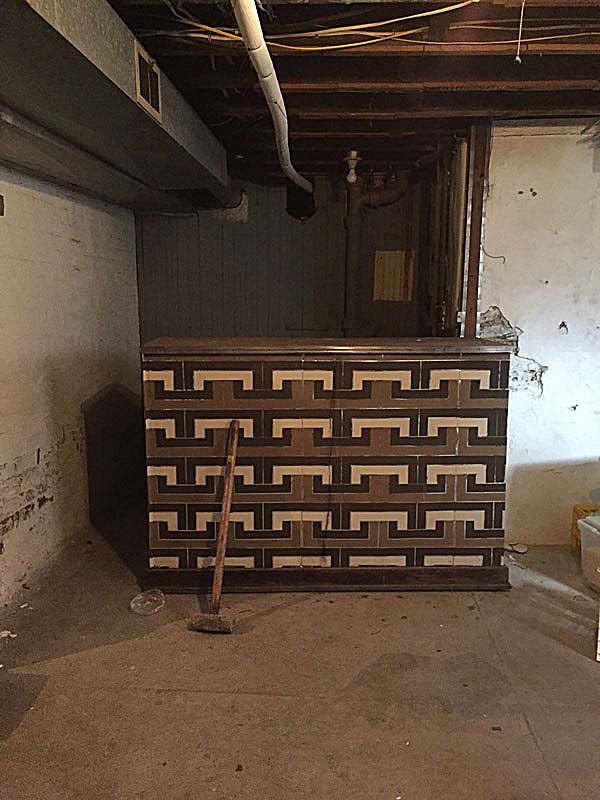
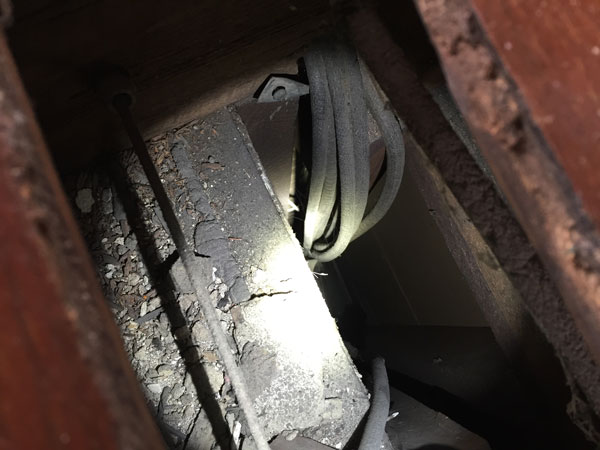
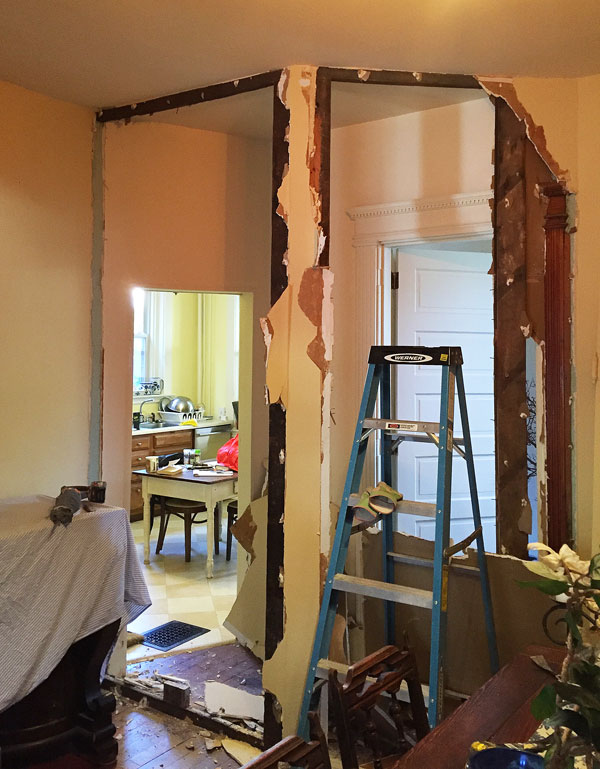
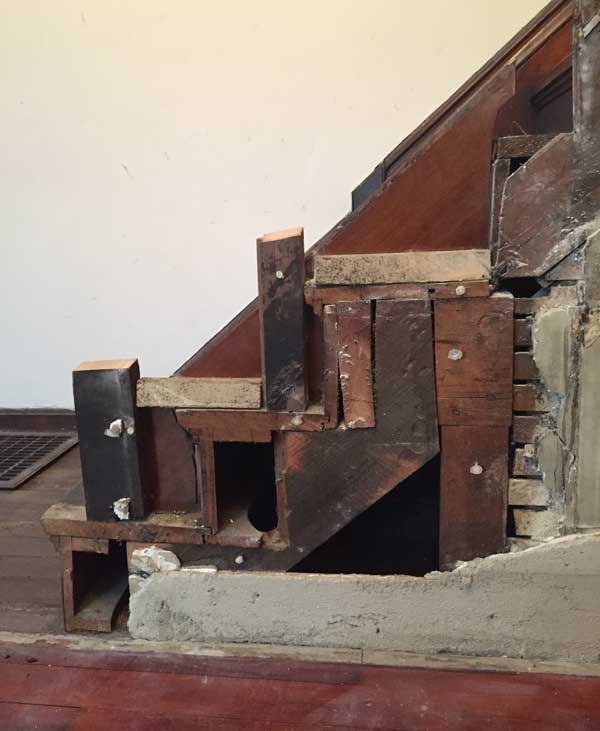
Now to do something about that phone panel…

Were I strictly a hand-tool woodworker, I could call my shop done.* I finally made the tills for and attached the wheels to the chest I built in December 2012/January 2013. The tool rack on the front chest wall has been done for three years, so I’ve been using it to store chisels and backsaws, and my planes have long been stored on the chest floor. But my measuring and marking tools, and all the other stuff that should go in tills? Those have been stored in various boxes, on countertops, in drawers, in pockets…in other words, I’ve had a heck of a time finding what I’ve needed over the last year.

So I did something about it.

With the wheels added, the chest no longer fits in the back of my Subaru. But I can't lift the chest anyway, so it doesn't really matter.

With the wheels added, the chest no longer fits in the back of my Subaru. But unless it’s empty, I can’t lift the chest anyway, so that doesn’t really matter.

After flipping the empty chest on its top to attach the wheels, I flipped it back, leaned against it and promptly fell on my backside. The wheels work. Now I have to get used to them.

The three white pine tills are dovetailed at the corners…and some of those joints even look good! (I have Raynaud’s and it’s been acting up lately…I blame the bats. That’s made it difficult to grip a saw or do anything else that requires fine finger control. It’s also an excellent excuse when necessary for cutting crap dovetails.) While The Plan calls for oak till bottoms, I used walnut for the top and middle ones. Because that’s what I had.

emptytills

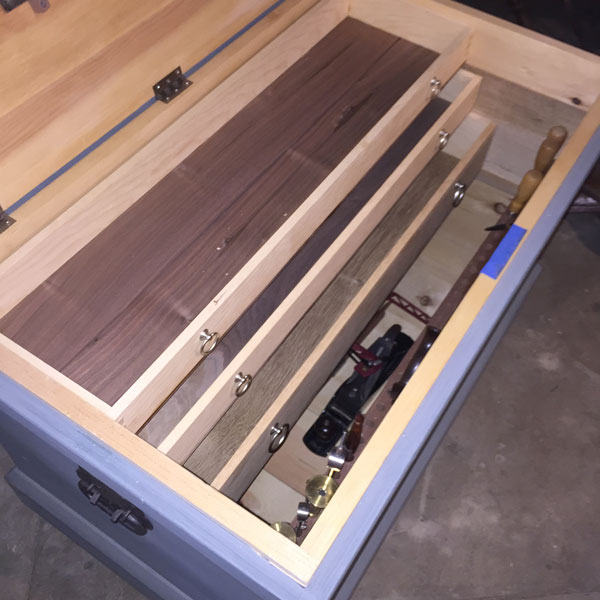
Instead of fitting the tills tight to the chest walls as Christopher Schwarz directs in “The Anarchist’s Tool Chest” (I really don’t think I could have done that easily with no feeling in several fingers) I used a trick he mentioned in a blog well after the book was published – the tills are a bit undersized from left to right (particularly the middle one; my stop slipped), but the bottoms are snug (thank you shooting plane).

My woodworking tools are now out of boxes/bins/bags/tubs/pockets/etc. and in the chest where they should be. My construction (and destruction) tools are all on shelves. And the tools I rarely use (Grandpa’s 1″ gouge, for example) are still in boxes, but I know which box and where it is.

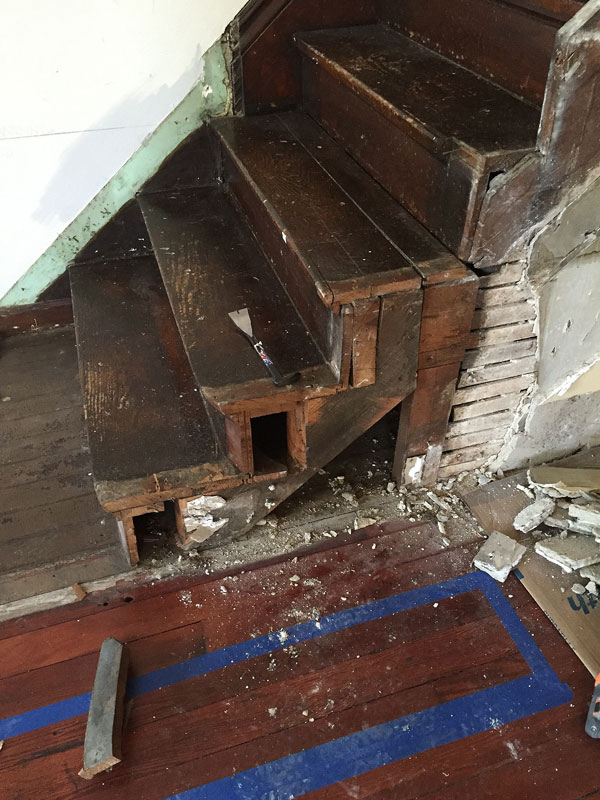
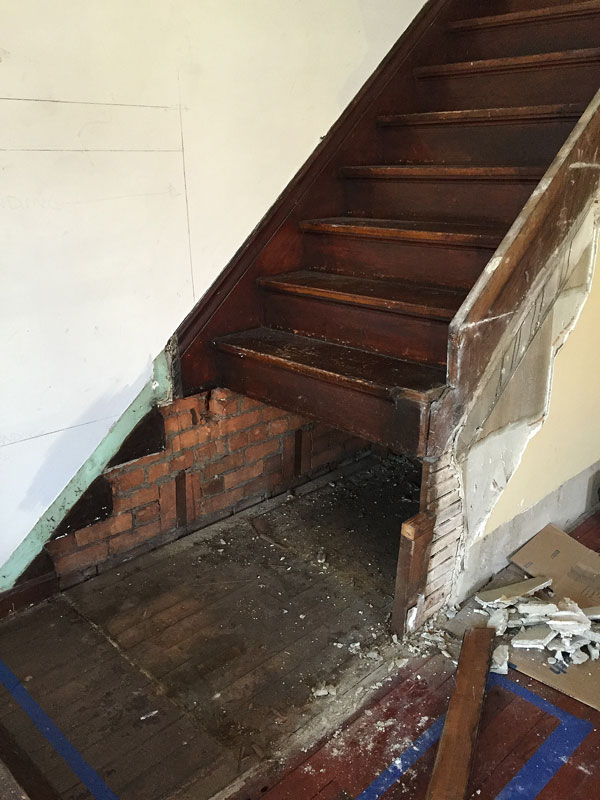
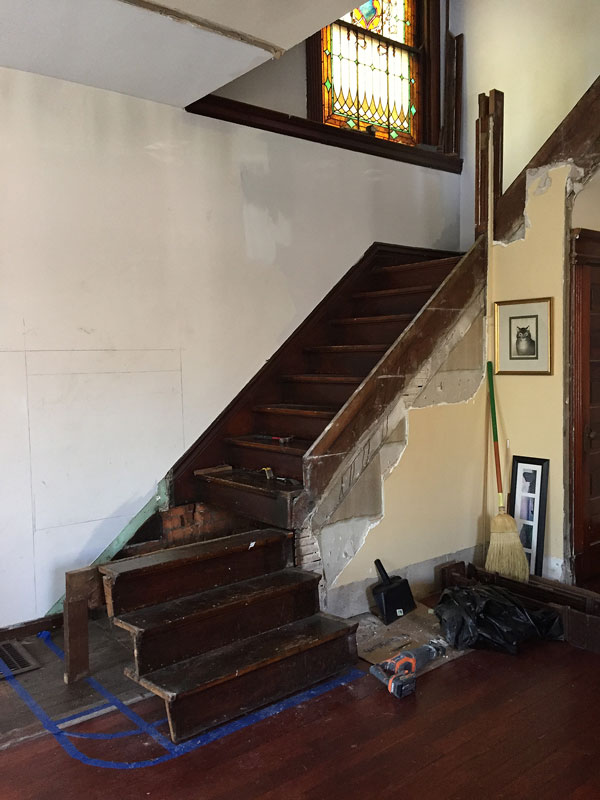
Now that I can find everything at a glance (except for my favorite birdcage awl…no idea where that is!) I’m wholly out of excuses to not finish the front stairs. Well, except that I can’t grip a hammer at the moment. But as soon as it warms up and stays warm, that will pass. Then I’ll probably come up with a new excuse.

Those filled up fast. I think I have more than the "50 or so tools you need" (from the gospel according to Chris)./

Those filled up fast. I think I have more than the “50 or so tools you need” (from the gospel according to Chris).

— Megan

* I’m not strictly a hand-tool woodworker, so I still have some machinery to set up…and some I still need to buy.

Posted in Woodworking | 26 Comments

Appetite (& Checkbook) for Destruction

Hard to believe I don't want to save it, eh?

Hard to believe I didn’t want to save it, eh?

Tim gave me his invoice for the miles of re-wiring and many days of labor, and I’ve several quotes for removing the bats and keeping them out (guaranteed for three years by the fellow I’m hiring). So my electric is now mostly modern, and soon – when the colony awakens from its winter nap – I’ll be bat free.

I won’t, however, be able to afford any costly (or even cheap) renovations for at least a little while…so I decided to make an even bigger mess. I have a sledgehammer and a recip saw, and destruction is free (well, almost – I’ll have to spring for a new box of contractor bags).

I’ve been itching to remove the bar that’s taking up space in what will be my bench room and hand-tool area. Stunning though the bar is, I think I can find better use for that space. So Tim removed the mass of wiring and plugs from the upright that attached the bar to the joists overhead (wholly unnecessary – this thing weighs more than a full-sized oak workbench; it wasn’t going anywhere without a healthy dose of persuasion). I grabbed the recip saw and sliced the 2×4 in half.

Been waiting to do that for eight months.

I’ve been waiting to do that for eight months.

The rest was sledgehammer and crowbar. And now my arms hurt. I’m pretty sure this thing might have doubled as a fallout shelter; it certainly withstood a beating. Until it didn’t. (I might leave the odd little dry sink in the corner, though I’d build a proper base for it; maybe this will become my sharpening area.)

3bar

Built to dance atop? If so, I don’t want to know.

After hauling all the pieces out to my ever-growing trash heap, I turned my sights on the weird arch that leads from the laundry room into the soon-to-be-bench room. Under the bottom of each side is what I think is the original newel post for the house. Cut in half. Screwed and glued to the sides of the opening. Bastards.

I’ll try to get that out without causing further damage, in hopes of repairing and reusing it in the stair rebuild.

Why? It boggles the mind.

Why? It boggles the mind.

The arch was far more trouble to tear out than the bar – because on the backside is a run of ductwork that needs to remain intact. Plus, whomever installed it used 20 14d nails wherever one or two 4d nails would do. And there were lots of little pieces nailed in all kinds on interesting directions.

I got it, but not without a couple cups worth of dead bugs and bug parts falling on my head (sorry Lie-Nielsen…I don’t think I can wear that hat again). Yes, these were termite parts, and no, there are no active termites. I didn’t check for bats before buying, but I did check and treat for termites.

That was a pain in the posterior.

A pain in the posterior.

I ran out of energy for the newel posts; that’s a project for this weekend, along with cutting a riser (I already bought that wood) and finally moving forward on the stairs…now that the one damn wire that sidetracked me is gone.

Also, I could finish cleaning up the mess in the basement and get things situated so I can use my bench. But I’ll need to save up for that box of contractor bags first.

Getting there!

Getting there!

Posted in Renovation/Restoration | 11 Comments

Might as Well…

LR-ceilingHmmm…the living room really could use a chandelier. And it’s directly under the room in which I’m pulling floorboards anyway. Hmmmm…

Posted in Renovation/Restoration | 13 Comments

A Widening Gyre

This person is (or was) an ass.

This person is (or was) an ass.

My staircase project is spiraling out of control. After uncovering a live wire buried in plaster right where I need to secure the new landing and turn on the stairs, I had to make some exploratory cuts in the ceiling to trace the line (so I can abandon that no-longer necessary hall light). But that same circuit powers the first-floor hall light (the one I’m taking out), the two front rooms on my second floor, and my bedroom, which is in the middle of the house.

So with the ceiling already cut open and in need of eventual repair, well, why not run new grounded electric to the room that will be my study? (I’d prefer a dedicated line for my computer and its peripherals.) And if I’m doing that, might as well also fish a new line up for the other front room and my bedroom.

To trace those lines, I had to start taking up floorboards – not a big deal, because some hack made enough crappy cuts years ago that it was pretty easy (in most cases) to see where it had been removed before. And pre-cracked.

It seems that hack might have lived a lot longer ago than I thought; there’s still live knob and tube in the floors. Or the hack left the knob and tube and simply added some new wiring, because there is also some abandoned knob and tube, and a hydra-like collection of circa 1950s Romex. There are also a lot a cobwebs.

I hate the color red.

I hate the color red.

What fresh hell is this?

What fresh hell is this?

So, in order to most efficiently and inexpensively (for future projects) put the staircase back to rights, I first have to run new electric to three rooms (and I might as well add a plug in the second-floor hall while I’m at it).

While investigating the wiring path to my bedroom, I discovered that what I thought was a chase for the third floor HVAC vents is in fact only partially that; it’s about twice as wide as it needs to be…and I could, with things torn up anyway, pretty easily reroute that HVAC in a less obtrusive manner — might as well; the walls will already need patching.

So, to build a landing and two steps, I am running electric, pulling up floorboards (then putting them back, of course), moving ductwork and patching plaster. All on the floor above.

Redoing the bath ought to be easy by comparison…If I ever get to it. That will be a total gut job – it’s much easier to rebuild if first you can destroy.

Sigh.

Sigh.


Posted in Renovation/Restoration | 26 Comments

Let Me Explain. No, There is Too Much. Let Me Sum Up.

That light (and exposed wire) will be disconnected.

That light (and exposed wire) will be disconnected.

On Facebook, I posted this question: “Best angle grinder for cutting thick plaster?” Thank you to those who answered that question. And thank you for the other advice. But – with the exception of a RotoZip – I already tried it. Or I am not going to, following expert, on-site advice.

In short: I need to rerun a lot of electric to replace wires currently buried in plaster (in no conduit) on exterior walls – real, old, adamantine plaster over brick. I had two electrician friends over. I had an expert plaster guy over – a guy who does lots of work on old plaster, not drywall. We’re all on the same page.

Instead of hammer drilling multiple channels into the plaster and brick to run electric and conduit to meet current NEC code, we’re going to abandon the existing wire (and hall sconce, because it’s no longer necessary) and fish new wire from the panel up through the interstitial spaces in an interior wall, then come across the ceiling to pop up to the second floor for plugs on an exterior wall. There, I’ll have to remove the baseboard and drill out a small amount of brick to bury conduit; but the plug location is already cut into the baseboard (dammit), so I suppose I’ll put new outlets in the same spot. One less plaster repair, I guess.

I’ll also run new Romex to two interior walls on the second floor at the same time (at the moment, they’re on the same circuit; they won’t be). But that’s not quite as much trouble.

Up that partial wall on the left, and across the ceiling...

Up that partial wall on the left, and across the ceiling…

So, I have to take down enough plaster and lathe on the ceiling to get at the necessary joists (to which I’ll attach the new Romex) across the width of the hall – and to remove the old gas line that’s poking out. (I might relocate the chandelier to there – that must have been a fixture location 100 years ago.)

I have tried an oscillating multi-tool with a carbide grout blade. I have tried scoring, scoring deeper…then deeper still, then “chiseling” with a sharpened flathead screwdriver between those lines. I have tried cutting it with a drywall knife … well, no. I skittered the knife across the plaster for 10 minutes. I swear I heard the plaster laughing. Or maybe that was the birds/bats/squirrels scuttling in the chimney…hard to tell.

With the new electric run, I’ll be able to finish the stairs. And, I’ll have properly grounded outlets in what will be the study – so I’ll be ready to build bookshelves and a computer desk there, instead of having to hang out in my ersatz study, where my computer currently shares space with the litter boxes. (It’s the former second-floor kitchen – the only room upstairs with grounded plugs.)

The future home of built-in bookshelves and a desk, once I install a plug and wiring that is not older than am I.

The future location of two bookshelves and a desk, once I install a couple grounded plugs. And redo the bathroom.

The plaster guy, after taking a look at the exposed edge of plaster (at the top of the stairs where I took out the 1950s-added floor in the open well), and hearing what I’ve already tried, recommended an angle grinder. He specifically said to not use a recip saw, unless I was prepared for a far larger plaster repair bill. And yes, there will be dust. There are also dust bunnies, and cat-hair tumbleweeds in my house. I’ll be fine.

When I’m done, he’ll come back and put the ceiling to rights, and patch the walls where necessary. His expert help will allow me to more quickly move on to the next task: tearing out the existing bath. My destruction skills are quite advanced.

So anyway…I’m going to buy an angle grinder. I’m leaning toward a DeWalt. The Makita is alluring, but more spendy.

And yes, that’s the short version.

Posted in Renovation/Restoration | 21 Comments

Got Pine?

Before

It’s rather amazing this felt solid under my feet. It clearly wasn’t.

The cats have lost their favorite hiding place. I finally got off my duff and removed the three bottom stairs today, in preparation for rebuilding them with a landing and a turn.

Clearly, the above is cobbled together, with what appears to be the original stringer serving the same purpose here, though not at all properly. The risers, of course, should be flush with the L-shapes in the stringer. If you look closely, you can see the chiseled curve on the stringer that matches the curve of the second riser…and that the full sweep of the curve on the tread and riser have been cut off (dammit) to fit into the wall that formerly blocked in the staircase.

I’m fairly certain I’ll be able to reuse that stringer, attaching it to the rebuilt support structure for the landing, after using it to lay out a matching stringer for the other side.

With a wrecking bar, I was able to pull that riser away from its rather precarious after-market joist enough to get a metal-cutting blade in between, and slice the nails.

After. The bottom three stairs were held to the rest of the structure with but three nails and good wishes.

The bottom three stairs were held to the rest of the structure with but three nails and good wishes.

I was both pleasantly surprised that a) it was so easy to then remove the bottom stairs and b) that they hadn’t fallen down in the last six months with me atop them.

After sweeping out the dust and a bit of plaster from under, I crawled in for a closer look at the construction that has remained – as far as I can deduce – undisturbed since it was built in 1906.

Very neat job indeed.

A very workmanlike job indeed.

Now, I’m on the hunt for two planks of 120-year-old (or so) 1″ thick tight-grained yellow pine, at least 13″ wide and 60″ long, to make two bottom treads (my curses on whomever cut the original ones). I also need 13 or so 7/8″-thick x 3-1/4″-wide x 40″ long (or wider, that I can cut down) old-growth yellow-pine floorboards for the landing treads – though I can, if I must, scavenge those from the third floor.

I’ve already tried the architectural salvage yards within 125 miles of me,; no joy. (Apparently, not too many folks bother pulling stair treads and floorboards from tear-downs.) If you know of a source, please do let me know.

But I guess there’s no hurry. I need to knock together the joists etc. that will support the landing, and get to work on the spindles and railing.

I hope I remember to use only the back stairs for now; I really should put up some “Caution” tape at the top. I also hope I can find the cats’ new hiding place; it’s time for a visit to the vet.

This is sort of what it will look like when I’m done. You’ll have to imagine the landing, banister, spindles, newel posts, repaired plaster, trim work…

Posted in Foyer, Renovation/Restoration | 14 Comments

What Happens When I Run Out of Red Ink

Before (with the swinging door already removed).

Before (with the swinging door already removed).

Last weekend I had three chapters to edit for Christopher Schwarz, a book editing project, some other freelance work and a house to clean. But my last red pen died; rather than go buy more, I instead destroyed more of my house.

Like the wall in the entrance hall I tore down a few months ago, this one was put up in the 1950s I assume, given the similar materials and inability of the installer to sink nails (and too many of them) in a straight line.

This wall created a narrow (31″) hallway from the kitchen to a full bath, and it walled off the bathroom door from the dining room (which was likely used as a bedroom when the house was a two family). But despite a swinging door in the wall and short route, it was decidedly less trouble to go through the front hall and into the dining through the front. Thanks to settling (or perhaps never being plumb) that door swung easily in only one direction.

Studs

No original trim was destroyed in the building of this hall. A miracle.

A few hours and a fair amount of dust later (yes, I wore a respirator), I had most of the gypsum down and was delighted to have uncovered the still-there original trim behind the stud (whew). Everything is now in a pile under the wide overhang on my garage. It will likely stay there until spring.

Cool.

Cool.

I did find one nifty thing – used as a shim was an entire yardstick promoting a Sherwin-Williams paint store in my neighborhood (that address is now an H&R Block storefront). Note the phone number. So I used my moulding bar to carefully remove the yardstick in one piece. I’m not sure what to do with it…use it? (I don’t really need it.) Hang it above my workbench? (Cracker Barrel decor). I don’t know – but I couldn’t throw it out.

WallDone

Oops on that ceiling. The top plate was screwed in, not nailed. Screws don’t pull out quite at cleanly.

With that wall down, it becomes more obvious that either the door to the kitchen is also not original, or that it was blocked in and made shorter and narrower at some point…but why? My best guess is that what is now the bathroom was a butler’s pantry that connected the kitchen and dining room (there are still a couple intact butler’s pantries in houses in my ‘hood of the same vintage and basic design). You can see in the bathroom wall that a doorway to the kitchen has been filled in.

While it’s now much more convenient to get between the kitchen and dining rooms (good thing, given that I’ve 13 dinner guests on Thursday), I’m not terribly comfortable having a bathroom right off the dining room. That’s weird. And unappetizing (any guests reading this, please use the upstairs WC).

But I haven’t time to decide on a solution right now (other than simply closing the door). I bought more red pens, and must now put them to use.

Posted in Renovation/Restoration | 8 Comments

Paint as Procrastination

Brazen cat.

Brazen cat.

For the last several weeks, I’ve been too busy at work to do much real on the house – and Daylight Saving Time isn’t helping (hard to do electric when it’s dark, and it’s not dark when I leave in the morning and dark when I get home).  Plus, there’s the wee problem that what comes next* is the either the bathroom or the kitchen … neither of which is a small, fast or inexpensive job.

So I’ve resorted to my favorite form of rehab procrastination: painting.

The old “landlord white” walls in the former second-floor kitchen are – after a good scrubbing with TSP – now a light blue-gray-green, the formerly Kelly green bathroom is a blue-gray and white (two-hours work that I’ll likely tear out in the next four months… but I simply couldn’t tolerate it any longer) and the kitchen is sunshine yellow instead of a depressing off-white. (The cabinets and countertops remain depressing.)

But I’m pretty much out of things I can justify painting. Except maybe the living room…but I can’t decide on a color. (Trying to avoid blue-gray. I expect I’ll fail.)

* The stairs are not yet done…I’m still hoping for the right handrail – lots of it – to show up at the local architectural salvage place. I fear I’ll have to give upon that shortly.

Posted in Kitchen | 10 Comments

Not at all Interesting

  
Since early June, I’ve regressed to my 19-year-old self every couple of weeks by either hanging out at the laundromat for a few hours, or timing visits to friends’ houses to coincide with a dwindling drawer of clean drawers.

After three-and-a-half months, I’ve put the need for a washer and dryer above my need to save for new windows. Because laundromats suck. And I want my friends to keep taking my calls.

This Friday or Saturday, I’ll have laundry machines at home…and unlike other things that I’ll cheerfully let sit for weeks until I get around to them (see the still-boxed kitchen faucet I bought in July), I suspect I’ll get those hooked up immediately.

 But there was no escaping one last laundry stop; as of this morning, my drawers drawer was empty.


Posted in Personal Favorites | 12 Comments

It’s About to Get Interesting (I Hope)

cleanhall

Yes, yes. I know there are still a few staples and strings of carpet in the corners.

After almost two months of tear-out, I’m about ready to start putting things back together in the front hall. That’s good…because with an open 12′ drop from the second floor, I suspect I’m just asking for trouble (as a result, I’ve had to limit the bourbon intake; so very sad).

I have all but a few areas of rock lath removed from atop the original plaster and lath on the staircase and closet, all the carpet is rolled up and ready for tomorrow’s trash pickup and I have the hall cleaned up (if moving most of the detritus to the front porch counts as cleanup) to the point where there’s enough room make a new mess.

The carpet was nasty…but even nastier was the surprise I got when I pulled it and the terrifying padding up from the doorway. Underneath was a layer of some kind of tile.

Likely asbestos-laden...but gone now.

Likely asbestos-laden…but gone now.

I had the same thing happen at the old place…and what was underneath was not good (so I covered it up with cork). But here, I was pleasantly surprised. What I uncovered seems perfectly salvageable (though I have to tooth in boards to close up the now superfluous HVAC service and returns vents). And the stair treads, while scratched to hell and back again, are solid.

inspectorjj

But before that, I need to reroute some electric and run new wires (I’m thinking copper grounds would be an improvement…as would spider-web removal).

Really? In the HVAC return?

Really? In the HVAC return?

Then, it’s time to get serious. The last three steps are coming out, and I’ll rebuild the landing that ought to be (and once was) there, then turn the last two steps 90° to descend  to the hall floor.

Where the plaster and lath ends is where the landing will go.

Where the plaster and lath ends is where the landing will go.

But this weekend, I’m going to get the railing and spindles reinstalled in the second-floor hall. Woodworking in America is in two weeks…I could use a drink…possibly two.

Posted in Foyer, Renovation/Restoration | 13 Comments